How to Track Your Blog Performance With Just a Few Clicks
In this tutorial, I will show you how to track the promotional impact of your blog post in Google Analytics or in your favorite analytics tool with just a few clicks. Whether you are using one, five or 20 channels to share your post, you can easily track whether it is driving traffic and engagement without spending too much time or effort, thanks to these 3 simple steps. The guide is also available as a video.
Why do you need to track individual blogs?
Tracking the promotion of your blogs is extremely important. Especially because with so much noise and content out there, you want to know if what you create is resonating with your audiences and is worth your time and your hard work.
Measuring inbound traffic and conversions generated by your blog piece helps you optimize your content strategy and improve your lead-gen goals. It helps you:
- avoid under-reporting your hard work
- get quality insights that enable you to spot under-performing promotional channels and blog posts
- get the transparency you need to understand your audience likes and dislikes, as well as identify opportunity gaps and ensure your marketing campaigns are successful.
Who is this tutorial for?
If you are a performance-driven marketer who needs to drive more leads and for whom tracking visitors and conversions is an integral part of the marketing optimization process, this tutorial is for you.
It is also available as a howto video that demonstrates how easy it is to tag, build and shorten marketing links that track the impact of your blog in 3 easy steps.
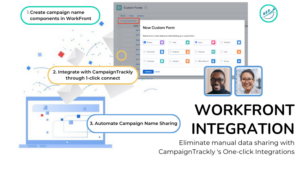
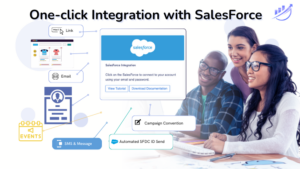
Trading the regular URL builder for an app that automates your tagging and tracking
While regular URL builder tools require a lot of manual, error-prone work, for this tutorial, I am using an automated link building and shortening tool – CampaignTrackly – because it makes the whole tagging process up to 500% faster and automates everything, minimizing typing errors and making tracking link work feel so much easier, exciting and rewarding.
So Let’s Get Started
Suppose you have created this really great blog that will help your target audiences learn how to set up performance tracking for their videos. It is valuable for your subscribers, for content marketers and for any business that is leveraging videos to drive traffic and engagements.
And you want to share it – on social media, with your email subscribers, and on a few blog communities and forums.
Here is how to do that in no time and with just a few clicks:
Step 1 – Creating your tracking links
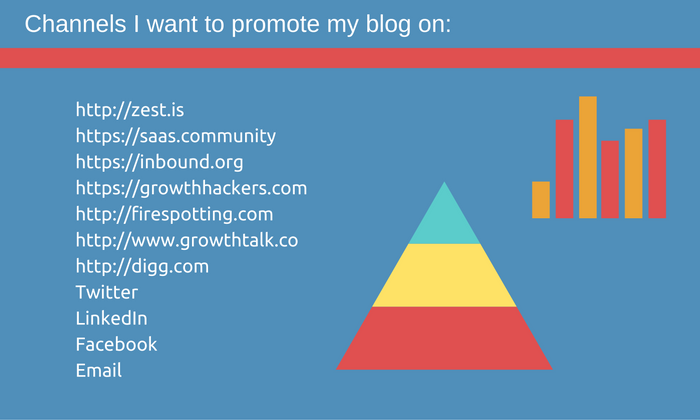
Define your promotional channels and add tracking parameters for each one of them.
For example, I have quite the list of places where I want to promote my blog post on. This means I need to create 11 tracking links.
Normally, if I were to use the regular Google URL builder to create the tagging links for every single channel, it would take a while. Plus I have to copy-paste or type all websites and sources every time I need to promote a new blog.
But luckily, I have CampaignTrackly. Using it, things are done really fast. And now I am going to show you how you can tag all your links in seconds.
All it takes is a click on the icon of the extension, available at the top right of my browser window and it opens up in a transparent layer on top of the blog I am on.
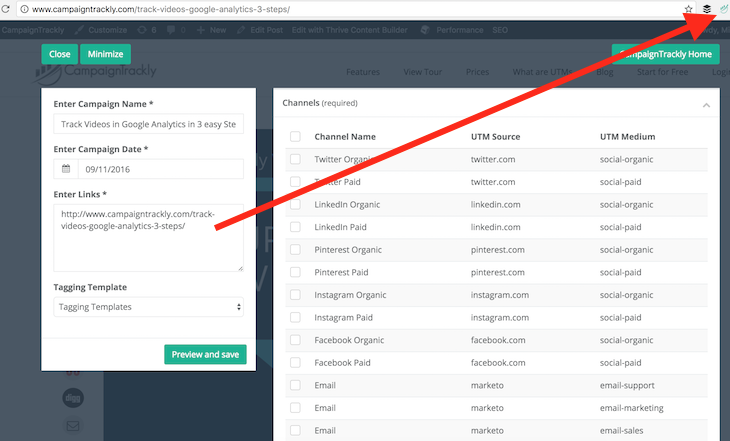
- As you can see, under Campaign Name, the app immediately captured the title of the blog. It also grabbed its web address. So I don’t need to type anything.
- Now all I need is to click on the drop-down menu in the app’s Tagging template section so that I can choose my blog promotion template. This is something I created ahead of time so I don’t have to type manually my content, source and medium tags over and over every time I want to track the performance of my blog posts.
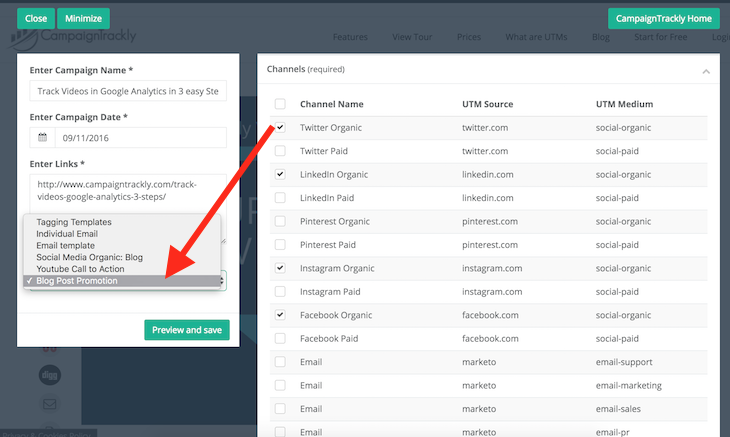
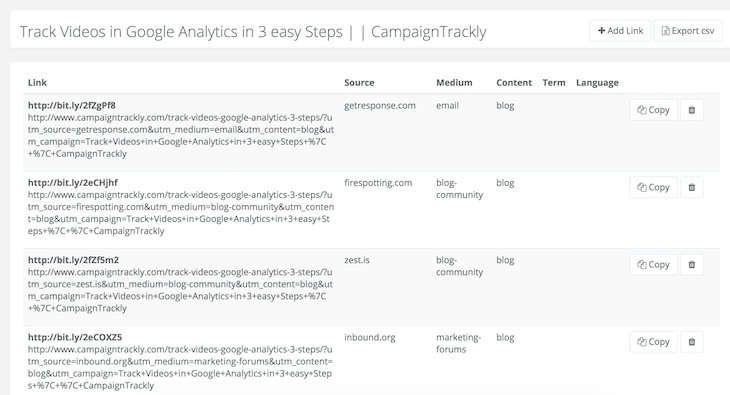
- Let me select it and preview my links. Here are all the places that I want to promote my blog on. Let me save and – here you go. All my links have been generated in seconds.
Step 2 – Sharing the tagged links
So now, I can go ahead and easily copy and paste those links in every channel. No more messy long tracking URLs, everything is created for me and reasy to use.
And the beauty of it is that I can add a new source to the list of promotional channels in my tagging template every time I find a new forum or blogging community that will accept my content. CampaignTrackly will keep this info ready for me to use again and again, so I can save even more time.
And if I need to promote my blog again in a couple of days, let’s say on Twitter or LinkedIn, I can go back to CampaignTrackly, find my campaign, open it, and simply copy and paste the links I need. No need to create new ones!
STEP 3 – Check the results in Google Analytics
So let’s head over to my Google Analytics account and see if things are happening and if my promotional effort is bearing fruit. The way to do that is to go to Google Analytics>Acquisition>Campaigns.
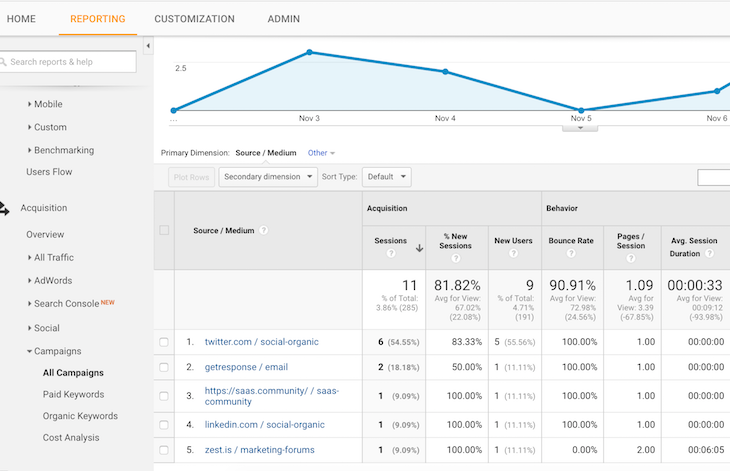
- Under campaigns, I select my blog post and click on the Source/Medium dimension shown in bolded text on the image above.
- I can see that it has already generated some traffic for me – great. I can even see which websites drove the clicks for me.
- From my data, I can clearly see that most of the people come, read my blog and then leave. Now I clearly know that I need a lead magnet that would offer a free download or an eBook that might be of value to my visitors and get them to stay longer or sign up for my mailing list.
I am going to start working on it right away, in the meantime, I hope this tutorial was useful and you learned how easy it is to track blog performance in Google Analytics.
If you have any questions, please do not hesitate to tweet us at @CampaignTrackly or visit us at www.campaigntrackly.com
In Conclusion
As you can see, tracking the performance of your blog is as easy as 1-2-3. Ii doesn’t take up much time and you are getting great benefits from this exercise – it helps you understand how your assets are performing and what you need to do to increase your ROI.